
What You'll Build
A servo whose position is controlled by a Number in DALE. You'll first move the servo with the Servo Lab, then recreate the behavior in Logic Builder and see how the same idea becomes Arduino code.
What You'll Need
- DALE with ESP32-S3
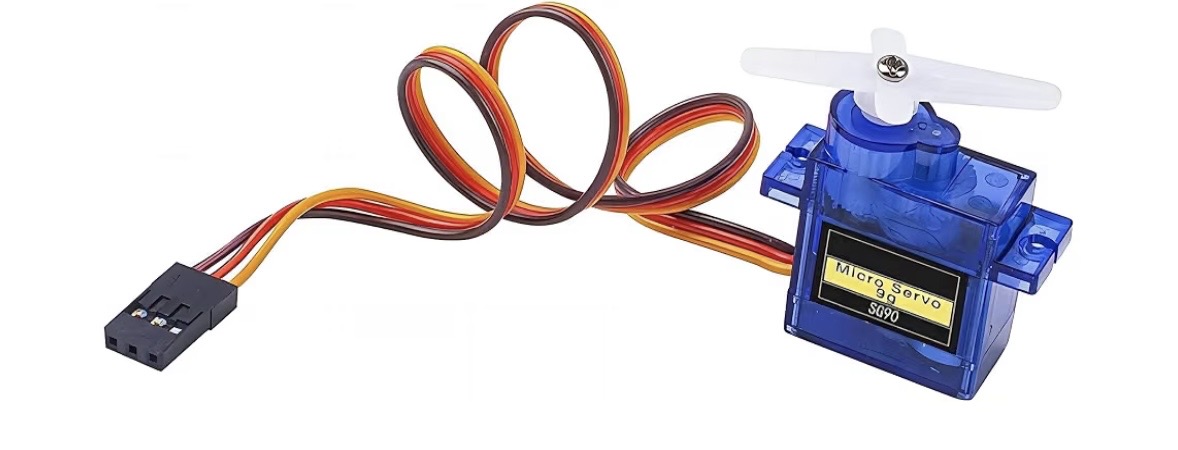
- 1 servo module
- Jumper wires
What You'll Learn
- That DALE can work with numbers, not only TRUE and FALSE.
- How a numeric value can represent a physical position.
- How changing a value changes real hardware.
- How visual numeric control becomes real Arduino code.
Connect It
Connect the servo using the module configuration shown in DALE. Use the same signal GPIO and power arrangement you configured for the Servo module.
Try It in DALE
1. Open the Servo Lab
Open DALE normally at dale.local, then open the Servo Lab and select the configured servo.
2. Start in the middle
Set the servo to 90°. The servo should move to approximately its center position.
3. Try several positions
Try 0°, 45°, 90°, 135° and 180°. Watch how changing a number produces a visible physical change.
Build It in Logic Builder
Add a Number block and a Servo block. Configure the Servo block for the same servo connection you just tested, then connect the Number output to the Servo position input.
Run the logic. Change the Number to 0, 45, 90, 135 and 180. The servo should follow the value.
What Just Happened?
The Number block produced a numeric value. Instead of interpreting that value as simply ON or OFF, the Servo block used it as a requested position. DALE translated the number into the control signal needed to move the servo.
This is an important step: numbers can represent real things such as position, distance, temperature, time, speed and many other measurements.
BUILD IT VISUALLY. SEE THE REAL CODE.
Show Me The Code
Open Show Me The Code and find the generated servo setup and position value. Follow the Number value into the servo-control code. The visual connection you made in Logic Builder has become a real numeric command in Arduino.